
Setting up a home networking lab is one of the best ways to understand how networks really function. Reading CCNA material helps you learn terms and definitions, but the real clarity comes when you configure devices, test connectivity, and solve issues on your own. A home lab gives you a safe, flexible environment to practice without fear of making mistakes. It also helps you prepare for real networking roles. If you want a guided learning structure along with your home practice, a CCNA networking certification course can support you with clear topic flow and practice-based learning.
Why CCNA Beginners Benefit from a Home Lab
Networking is a practical skill, and many learners struggle when they only read theory. A home lab changes this because you start experiencing how networks behave in different situations. You also become more confident because each activity teaches you something new. A small lab setup is enough to understand how switching, routing, and addressing really work.
How a home lab supports CCNA learning
A home lab improves your understanding in multiple ways.
• It builds real technical confidence by letting you see exactly how devices respond to configuration changes.
• It prepares you for actual troubleshooting tasks that you will face in networking roles.
• It strengthens your CCNA exam readiness by helping you recognize patterns and logic behind questions.
• It helps you learn faster because you test every concept immediately instead of depending only on notes or videos.
These benefits show why a home networking lab is valuable even for complete beginners.
Types of CCNA Home Lab Setups
Before buying equipment or installing tools, it is helpful to understand the different types of labs you can create. Each one serves a different purpose and suits different learning styles. You can begin with a simple setup and upgrade later.
1. Virtual Lab Setup
A virtual lab uses software on your laptop to simulate routers, switches, and PCs. It is the most popular option for new learners because it does not require hardware and is easy to manage.
• It is simple to create networks using drag-and-drop devices.
• It removes the need for physical equipment and cables.
• It supports almost every CCNA topic, making it beginner friendly.
• It allows you to repeat labs many times quickly without setup issues.
The most commonly used tools for this setup are Cisco Packet Tracer, GNS3, and EVE NG. Packet Tracer is often recommended for beginners because it is lightweight and easy to use.
2. Hybrid Lab Setup
A hybrid lab combines virtual tools with one or two physical devices. This setup is helpful when you want both flexibility and hands-on cable practice.
• It teaches you how to use console cables and access devices physically.
• It helps you understand LED indicators, link behavior, and port status.
• It gives you exposure to physical troubleshooting such as loose cables or incorrect ports.
• It lets you test real hardware while still depending on virtual labs for bigger topologies.
This approach gives you the best of both worlds and is suitable for learners who want gradual exposure.
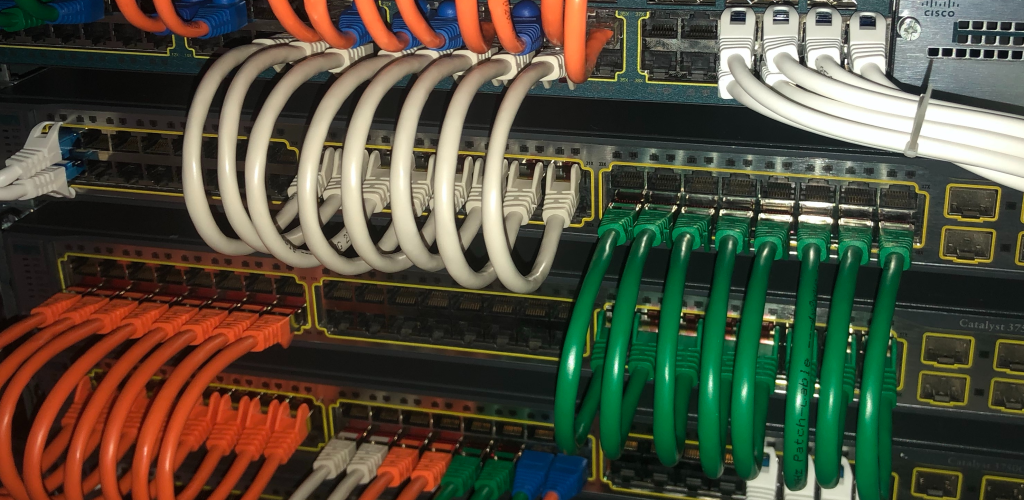
3. Physical Lab Setup
A physical lab uses real switches, routers, and cables. Although not required for CCNA beginners, it becomes helpful when you want deeper understanding or want to prepare for more advanced certifications.
• It gives you full control over real device behavior including startup processes, resets, and logs.
• It helps you experience hardware-level issues and learn how to solve them.
• It supports advanced topics like spanning tree behavior, trunking, routing, and interface recovery.
• It prepares you for real job environments where physical tasks are part of daily work.
A physical lab is optional, but it becomes valuable once you feel comfortable with core CCNA concepts.
Essential Items Needed for a CCNA Home Lab
Even though many setups exist, you do not need everything at once. Focus on what helps you learn effectively at your current level.
Minimum requirements for beginners
• A working laptop or desktop with sufficient RAM
• Cisco Packet Tracer installed for simulation
• A notebook to record commands, outputs, and mistakes
This basic setup is enough to practice most CCNA topics, especially if you are just getting started.
Optional additions for later stages
• One physical switch to understand VLANs and port configuration
• One small router for routing and NAT practice
• A wireless access point if you want to explore Wi Fi concepts
Start small and expand your lab only when you feel confident.
How to Build Your First CCNA Home Lab Step by Step
Setting up your first lab should feel simple and manageable. Here is a practical path you can follow.
Step 1: Install Packet Tracer
Packet Tracer is commonly used in CCNA labs because it offers a clear interface and supports a wide range of networking tasks. Install it and explore its tools and workspace.
Step 2: Build a basic network
Begin with the simplest structure.
• Add two PCs and connect them using a switch.
• Assign IP addresses to both devices.
• Test connectivity using ping to confirm communication.
This teaches you how addressing works and how switches forward frames.
Step 3: Add a router and expand the network
Once you understand the basics, introduce a router.
• Create two different networks and assign proper IP ranges.
• Configure router interfaces and enable routing.
• Test communication between the networks to verify routing.
This helps you understand how packets travel across networks.
Step 4: Practice switching concepts
Switching is one of the core topics in CCNA.
• Create VLANs to separate traffic logically.
• Assign specific ports to each VLAN.
• Configure trunk links to allow multiple VLANs on one connection.
• Test communication and see how VLANs isolate traffic.
This builds your understanding of modern office network designs.
Step 5: Practice troubleshooting regularly
Troubleshooting is the most important networking skill and should be part of your daily practice.
• Try breaking configurations intentionally to see how devices behave.
• Test different IP ranges, VLAN settings, and routing rules.
• Solve errors using logical step-by-step checks.
Troubleshooting strengthens your problem solving and prepares you for real roles.
Key CCNA Topics to Practice in Your Home Lab
Your lab should focus on topics that appear frequently in the exam and in real job environments.
High value CCNA topics
• IP addressing and subnetting for planning small and large networks
• VLAN creation and trunking for traffic segmentation
• Static routing to guide traffic between networks
• Inter VLAN routing to connect devices in different VLANs
• NAT and PAT to support internet access and address translation
• DHCP to automate IP assignment for devices
• ACL basics for network security
• Basic wireless concepts for modern network setups
Practicing these regularly makes CCNA concepts clearer and easier to remember.
Creating a Practical CCNA Study Plan
A home lab is useful when paired with a consistent study routine. Many learners benefit from a simple schedule that allows slow and steady progress.
A balanced practice routine
• Spend 45 minutes daily practicing labs inside Packet Tracer or your physical setup.
• Use the remaining time to review theory or read command explanations.
• Revisit old labs weekly to reinforce previously learned concepts.
• Build one large network every month to test your understanding.
This schedule helps you improve without feeling overwhelmed.
Common Mistakes CCNA Beginners Should Avoid
Many learners waste time or lose confidence because they make avoidable mistakes while setting up or practicing in their home lab.
Mistakes to avoid during CCNA practice
• Buying too much hardware early before understanding basic concepts.
• Jumping into complex labs without a strong foundation.
• Avoiding troubleshooting even though it develops real skills.
• Not saving configurations, causing loss of progress.
• Practicing randomly without planning what topics to cover each week.
Learning becomes easier when you avoid these mistakes.
Getting Help When You Are Stuck
It is normal to face confusion when practicing CCNA topics. Instead of feeling discouraged, use a structured approach to identify the issue.
Effective troubleshooting approach
• Check IP settings and verify they match the network plan.
• Use ping to test connectivity step by step.
• Confirm VLAN and port assignments.
• Review routing rules to ensure correct configuration.
• Reset the simulation and rebuild the network if needed.
When you need general guidance during your preparation, Helpful resources are on SterlingNext to support your learning.
Understanding CCNA Cost and the Value of Home Labs
The ccna cost varies depending on exam delivery, but the real value of CCNA comes from understanding networking concepts through practice. Since there are no strict ccna requirements, anyone can begin learning and building a home lab at any stage. Practicing regularly helps you feel more confident, improves your troubleshooting skills, and prepares you for entry level roles.
A home lab strengthens your technical thinking and becomes a long term learning tool.As you gain more experience, expand your lab naturally and continue practicing consistently. This steady approach helps you build real networking skills, whenever you need additional support during your CCNA journey.
Conclusion
A home networking lab is one of the best learning tools for CCNA beginners. It turns theoretical concepts into practical experience, helps you understand how networks behave, and strengthens your skills through regular practice. Whether you start with a virtual lab, a hybrid setup, or physical devices, what matters most is consistency. Use your home lab to explore ideas, solve problems, and build confidence gradually. With steady effort, you will be well prepared for the ccna certification and ready to succeed in real networking environments.